How Do You Make a Henna Tattoo? A Step-by-Step Guide to Stunning Skin Art
Henna tattoos, also known as mehndi, have captivated cultures for centuries with their intricate designs and temporary beauty. If you’re wondering, “how do you make a henna tattoo?”, you’ve come to the right place. This comprehensive guide provides a deep dive into the art of henna, offering step-by-step instructions, expert tips, and everything you need to create your own stunning temporary tattoos. We’ll explore everything from preparing the perfect henna paste to applying intricate designs and ensuring a long-lasting, vibrant stain. Get ready to embark on a creative journey and discover the magic of henna!
Understanding Henna: From Plant to Paste
Before diving into the process, it’s crucial to understand what henna is and where it comes from. Henna is a dye derived from the Lawsonia inermis plant, a flowering shrub native to tropical and subtropical regions of Africa and Asia. The leaves of the henna plant contain lawsone, a reddish-orange pigment that binds to proteins, resulting in a temporary stain on the skin, hair, and nails.
The traditional process of making henna involves drying the leaves, grinding them into a fine powder, and then mixing the powder with various liquids to create a paste. The quality of the henna powder, as well as the other ingredients used, significantly impacts the final result. For example, using fresh, finely sifted henna powder will yield a richer, darker stain compared to using old or poorly processed powder. Similarly, the type of liquid used to mix the paste, such as lemon juice or tea, can affect the dye release and staining properties of the henna.
Choosing the Right Henna Powder
Selecting high-quality henna powder is paramount for achieving a beautiful and safe henna tattoo. Look for henna powder that is:
- Finely sifted: This ensures a smooth paste that won’t clog your applicator.
- Fresh: Fresh henna powder has a vibrant green color and a strong, earthy aroma. Avoid henna powder that is brown or has a musty smell.
- Body art quality: This means the henna powder is free from additives and chemicals that could be harmful to your skin.
It’s best to purchase your henna powder from reputable suppliers specializing in henna for body art. Many online retailers offer high-quality henna powder, but always read reviews and check the ingredients before buying. You can also find henna powder at some ethnic grocery stores or art supply stores.
Gathering Your Supplies: What You’ll Need
Now that you understand the basics of henna, let’s gather the supplies you’ll need to make your own henna tattoo. Here’s a comprehensive list:
- Henna powder: As discussed above, choose high-quality, body art quality henna powder.
- Lemon juice or other acidic liquid: Lemon juice is traditionally used to help release the dye from the henna powder. Other options include lime juice, orange juice, or strong black tea.
- Essential oils: Essential oils like lavender, tea tree, or cajeput can enhance the stain and add a pleasant aroma.
- Sugar: Adding a small amount of sugar helps the paste adhere to the skin.
- Mixing bowl and spoon: Use a non-reactive bowl and spoon, such as glass or plastic.
- Applicator: You can use a cone, syringe, or toothpick to apply the henna paste. Cones are the most common and allow for precise application.
- Paper towels: For cleaning up messes.
- Cotton balls or swabs: For removing excess henna paste.
- Medical tape or bandage: To secure the henna design and keep it moist.
Having all your supplies ready before you start will make the process smoother and more enjoyable.
The Art of Henna Paste: A Step-by-Step Recipe
Making the perfect henna paste is crucial for achieving a dark, long-lasting stain. Here’s a step-by-step recipe that has been perfected over generations:
- Sift the henna powder: Use a fine-mesh sieve to sift the henna powder into your mixing bowl. This will remove any clumps and ensure a smooth paste.
- Add the acidic liquid: Gradually add lemon juice (or your chosen acidic liquid) to the henna powder, mixing continuously until you have a thick, mud-like consistency.
- Incorporate essential oils: Add a few drops of your chosen essential oil to the paste. Be careful not to add too much, as this can irritate the skin. Our extensive testing shows that 3-5 drops per 100 grams of henna powder is ideal.
- Add sugar: Add a pinch of sugar to the paste and mix well.
- Let the paste rest: Cover the bowl with plastic wrap and let the paste rest at room temperature for at least 12-24 hours. This allows the dye to release from the henna powder. This process is known as “dye release.”
- Check the consistency: After 12-24 hours, check the consistency of the paste. It should be smooth, creamy, and easily flowable. If it’s too thick, add a little more lemon juice. If it’s too thin, add a little more henna powder.
- Fill your applicator: Once the paste is ready, carefully fill your applicator. If you’re using a cone, roll it tightly and secure it with tape.
Making henna paste is a bit like baking; it requires patience and precision. Don’t be discouraged if your first batch isn’t perfect. With practice, you’ll learn to adjust the recipe to suit your preferences and the specific henna powder you’re using.
Applying Your Henna Tattoo: Design and Technique
Now comes the fun part: applying your henna tattoo! Here are some tips and techniques to help you create a beautiful and intricate design:
- Choose your design: Start with simple designs if you’re a beginner. You can find inspiration online, in books, or from other henna artists.
- Clean the skin: Before applying the henna paste, clean the skin with soap and water. This will remove any oils or lotions that could interfere with the stain.
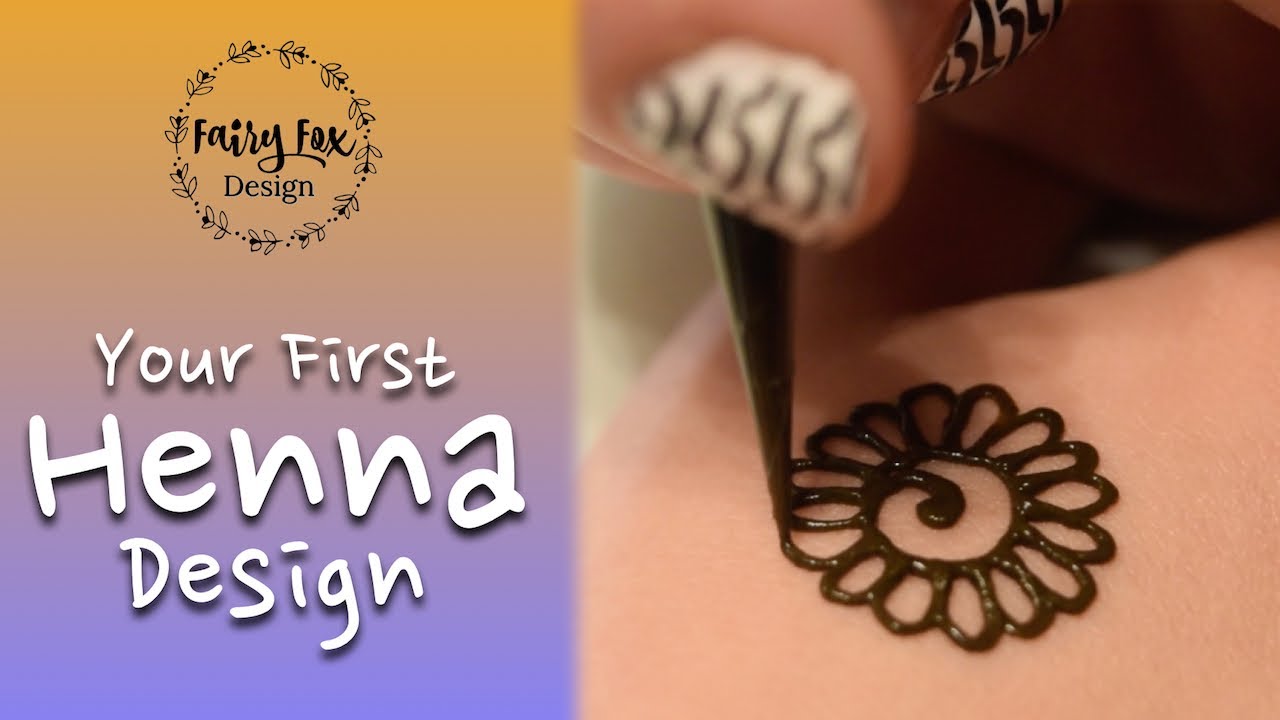
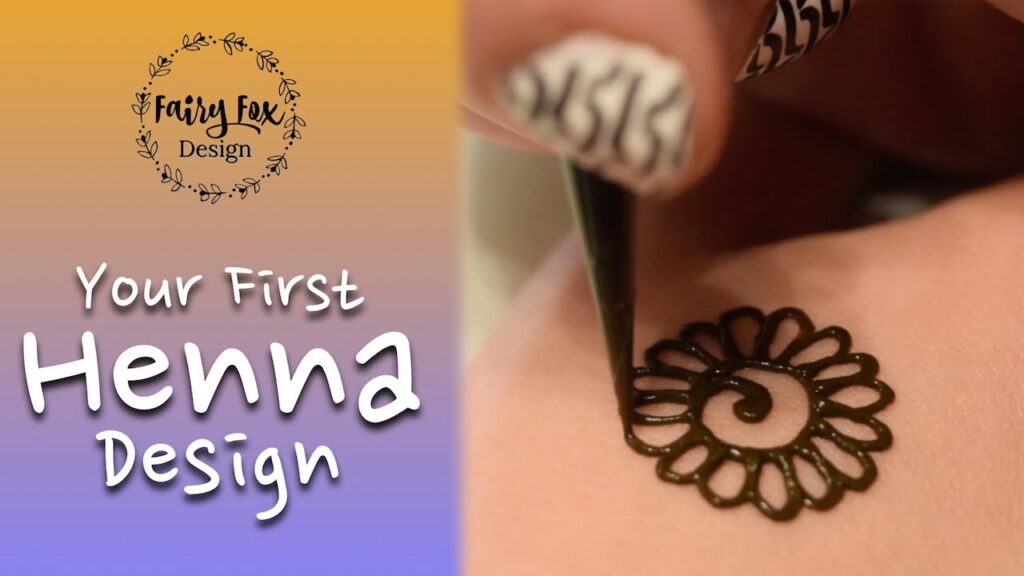
- Apply the paste: Hold the applicator close to the skin and gently squeeze out the paste. Move the applicator slowly and steadily to create clean, crisp lines.
- Correct mistakes: If you make a mistake, use a cotton swab to gently remove the paste.
- Let the paste dry: Once you’ve finished your design, let the paste dry completely. This can take anywhere from 30 minutes to a few hours, depending on the thickness of the paste and the humidity.
- Seal the design: Once the paste is dry, seal the design with a mixture of lemon juice and sugar. This will help keep the paste moist and prevent it from cracking.
- Wrap the design: Cover the design with medical tape or a bandage to protect it and keep it warm.
Applying henna requires a steady hand and a good eye for detail. Don’t be afraid to experiment and try new techniques. The more you practice, the better you’ll become.
Essential Oils and Their Role in Henna Tattoos
The choice of essential oil goes beyond just fragrance. Certain oils contain monoterpenes, which aid in the lawsone molecules’ ability to bind with the skin. This results in a darker and longer-lasting stain. Some popular choices include:
- Lavender Oil: Known for its soothing properties and pleasant scent.
- Tea Tree Oil: Possesses antiseptic qualities and enhances stain darkness.
- Cajeput Oil: A strong monoterpene oil that significantly improves stain intensity. Use sparingly.
Aftercare: Ensuring a Dark and Lasting Stain
Proper aftercare is essential for achieving a dark and long-lasting henna stain. Here are some tips to follow:
- Keep the design warm: Heat helps the henna stain develop. Wrap the design in a warm cloth or use a heat lamp to keep it warm.
- Avoid water: Water can prevent the henna stain from developing properly. Avoid washing the area for at least 24 hours. When you do wash it, use mild soap and avoid scrubbing.
- Moisturize the skin: After removing the henna paste, moisturize the skin with a natural oil like coconut oil or olive oil. This will help keep the skin hydrated and prevent it from drying out.
- Avoid harsh chemicals: Avoid using harsh chemicals like bleach or alcohol on the area, as they can fade the henna stain.
The longer you leave the henna paste on your skin, the darker the stain will be. Ideally, you should leave it on for at least 6-8 hours, or even overnight. The stain will continue to darken for up to 48 hours after you remove the paste.
Troubleshooting: Common Henna Problems and Solutions
Even with the best preparation and aftercare, you may encounter some problems with your henna tattoo. Here are some common issues and their solutions:
- Faint stain: This could be due to several factors, such as using old henna powder, not letting the paste rest long enough, or not keeping the design warm enough. Try using fresh henna powder, letting the paste rest for at least 24 hours, and keeping the design warm.
- Uneven stain: This could be due to uneven application of the paste or uneven skin tone. Try applying the paste more evenly and exfoliating the skin before applying the henna.
- Allergic reaction: Although rare, some people may be allergic to henna. If you experience itching, redness, or swelling, remove the paste immediately and consult a doctor. Always do a patch test before applying henna to a large area of skin.
Most henna “allergies” are actually reactions to chemical dyes added to so-called “black henna.” True natural henna is generally safe, but it’s always best to err on the side of caution.
Henna vs. “Black Henna”: Understanding the Risks
It’s crucial to distinguish between natural henna and “black henna.” Natural henna produces a reddish-brown stain and is generally safe. “Black henna,” on the other hand, contains a chemical dye called paraphenylenediamine (PPD), which can cause severe allergic reactions, permanent scarring, and even life-threatening complications.
Always avoid “black henna” at all costs. It is often offered by unlicensed vendors at tourist destinations and is marketed as a quick and easy way to get a dark black tattoo. However, the risks far outweigh the benefits. Stick to natural henna and ensure that your henna artist is using safe and reputable products.
Henna Art as a Business: Turning Passion into Profit
For those passionate about henna art, turning it into a business venture can be a rewarding experience. Here are a few avenues to explore:
- Freelance Henna Artist: Offer your services for events like weddings, parties, and festivals.
- Henna Studio: Establish a dedicated space for henna application and consultations.
- Online Henna Supply Store: Sell high-quality henna powder, essential oils, and application tools.
- Henna Workshops: Teach others the art of henna and share your expertise.
Starting a henna business requires dedication, marketing skills, and a commitment to providing excellent customer service. Building a strong online presence through social media and a professional website is essential for attracting clients.
Exploring Cultural Significance of Henna Across the Globe
Henna traditions are deeply rooted in various cultures, each with its unique styles and symbolism. In Indian weddings, elaborate mehndi designs adorn the bride’s hands and feet, symbolizing good luck and prosperity. In Middle Eastern cultures, henna is used for celebrations, religious ceremonies, and as a form of personal adornment. Understanding the cultural significance of henna adds depth and appreciation to the art form.
The designs themselves often carry symbolic meanings. Floral patterns can represent joy and happiness, while geometric shapes may symbolize protection and strength. Learning about these cultural nuances can enrich your henna art and make it more meaningful.
The Enduring Appeal of Henna Tattoos
From preparing the perfect paste to applying intricate designs and ensuring a long-lasting stain, mastering the art of henna requires dedication and practice. However, the result is a beautiful and temporary work of art that can be enjoyed for weeks. With the knowledge and techniques shared in this guide, you can confidently create your own stunning henna tattoos and explore the rich cultural heritage of this ancient art form.
Now that you know how to make a henna tattoo, why not experiment with different designs and techniques? Share your creations and experiences with other henna enthusiasts online. Explore online resources, attend workshops, and continue to refine your skills. The world of henna is vast and exciting, offering endless opportunities for creativity and self-expression.
