
Mastering the Ruger Mark IV 22/45 Bolt Disassembly: A Comprehensive Guide
Taking apart your Ruger Mark IV 22/45 bolt can seem daunting at first, but with the right knowledge and a little practice, it becomes a simple and essential maintenance task. This comprehensive guide will walk you through each step of the process, ensuring you can safely and effectively disassemble and reassemble your bolt for cleaning, inspection, and upgrades. We’ll delve into the nuances of the Mark IV 22/45 design, providing insights and tips that go beyond the basic instruction manual. Whether you’re a seasoned shooter or a new owner, this article will equip you with the expertise needed to confidently maintain your Ruger Mark IV 22/45.
Understanding the Ruger Mark IV 22/45 Bolt: A Deep Dive
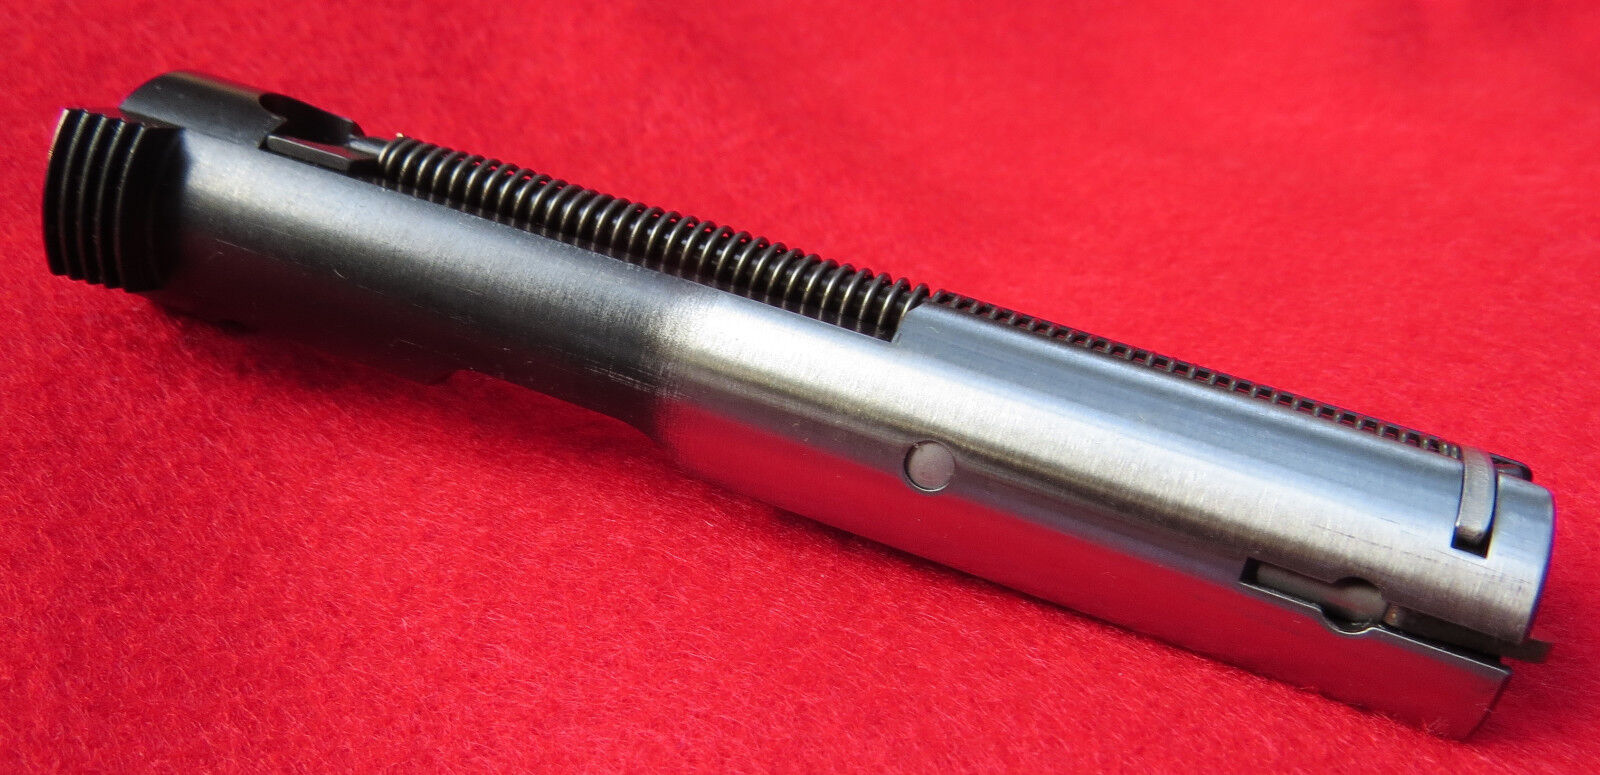
The Ruger Mark IV 22/45 is renowned for its accuracy, reliability, and ease of maintenance. At the heart of this semi-automatic pistol lies the bolt, a critical component responsible for extracting spent casings, chambering new rounds, and initiating the firing sequence. Understanding the intricacies of the bolt’s design and function is paramount for proper maintenance and troubleshooting. The 22/45 variant, specifically, boasts a grip angle similar to the 1911, making it a favorite among many shooters. The bolt assembly, while seemingly simple, contains several key components that require periodic cleaning and inspection to ensure optimal performance.
The bolt’s design has evolved through the Mark series, with the Mark IV offering significant improvements in ease of disassembly compared to its predecessors. However, the fundamental principles remain the same: a reciprocating bolt driven by the energy of the fired round. This energy cycles the bolt rearward, ejecting the spent case, and then forward, stripping a new round from the magazine and chambering it. The firing pin, located within the bolt, strikes the cartridge rim, initiating the next firing sequence.
Regular disassembly and cleaning of the Ruger Mark IV 22/45 bolt are crucial for preventing malfunctions and maintaining accuracy. Carbon buildup, powder residue, and lead deposits can accumulate within the bolt assembly, leading to sluggish operation, misfires, and even damage to internal components. Proper lubrication is also essential to ensure smooth cycling and prevent excessive wear. By understanding the importance of these maintenance procedures, you can extend the life of your firearm and maintain its peak performance.
Essential Tools and Safety Precautions for Bolt Disassembly
Before you begin the disassembly process, gathering the necessary tools and understanding essential safety precautions is paramount. Working on firearms requires a focused and responsible approach to prevent accidents and damage to your firearm.
Required Tools:
- A clean, well-lit workspace: This will allow you to see all the small parts and prevent losing anything.
- A small punch or pin tool: Essential for pushing out retaining pins without damaging them. A nylon or brass punch is preferred to prevent scratching the finish.
- A small hammer (optional): For gently tapping the punch if needed. Use a rubber or nylon-headed hammer to avoid damaging the punch or the firearm.
- Cleaning supplies: Gun solvent, brushes, and cleaning patches to remove carbon buildup and fouling.
- Lubricant: A quality gun oil or grease to lubricate the bolt after cleaning.
- A parts tray or container: To keep all the small parts organized and prevent them from getting lost.
- The Ruger Mark IV 22/45 owner’s manual: Always refer to the manual for specific instructions and diagrams.
Safety Precautions:
- Ensure the firearm is unloaded: This is the most critical step. Remove the magazine and visually inspect the chamber to ensure it is empty. Double-check!
- Wear safety glasses: To protect your eyes from any flying debris or springs.
- Work in a safe environment: Free from distractions and where you can focus on the task at hand.
- Follow the manufacturer’s instructions: Always refer to the owner’s manual for specific instructions and warnings.
- Be mindful of small parts: Springs and pins can easily be lost. Work slowly and carefully to avoid losing any components.
Step-by-Step Guide to Disassembling the Ruger Mark IV 22/45 Bolt
With your tools gathered and safety precautions in mind, you’re ready to begin the disassembly process. Follow these steps carefully, and refer to your owner’s manual for visual aids and specific instructions.
- Remove the Bolt from the Firearm: Ensure the firearm is unloaded. Field strip the pistol according to the Ruger manual to remove the bolt from the receiver.
- Locate the Firing Pin Retaining Pin: This small pin secures the firing pin within the bolt. It’s usually located near the rear of the bolt.
- Using a Punch, Push Out the Retaining Pin: Place the punch against the retaining pin and gently tap it with a hammer (if needed) to push it out. Be careful not to damage the pin or the bolt. Some users find it easier to use a dedicated pin removal tool.
- Remove the Firing Pin: Once the retaining pin is removed, the firing pin should slide out of the bolt. Be mindful of the firing pin spring, which may be under slight tension.
- Remove the Extractor: The extractor is a small claw-like component responsible for extracting spent casings. It’s typically held in place by a spring and plunger. Use a small punch or pick to carefully depress the plunger and remove the extractor. Be extremely careful, as the extractor plunger and spring are very small and easy to lose.
- Inspect the Components: Carefully inspect all the components for wear, damage, or excessive fouling. Pay close attention to the firing pin tip, the extractor claw, and the condition of the springs.
Cleaning and Inspecting the Bolt Components
After disassembling the Ruger Mark IV 22/45 bolt, the next crucial step is thorough cleaning and inspection of each component. This process removes accumulated carbon, lead deposits, and other debris that can hinder performance and potentially damage the firearm. A clean and well-maintained bolt ensures smooth operation, reliable cycling, and optimal accuracy.
Cleaning Procedure:
- Apply Gun Solvent: Use a quality gun solvent specifically designed for removing carbon and lead fouling. Apply the solvent to all bolt components, including the firing pin, extractor, and the bolt body itself. Let the solvent soak for a few minutes to loosen the deposits.
- Scrub with Brushes: Use nylon or brass brushes to scrub away the loosened fouling. Pay close attention to the firing pin channel, the extractor claw, and any tight corners or crevices.
- Wipe Clean: Use clean patches or a lint-free cloth to wipe away the solvent and debris. Repeat the scrubbing and wiping process until all components are thoroughly clean.
- Compressed Air (Optional): Use compressed air to blow out any remaining solvent or debris from the internal passages of the bolt.
Inspection Procedure:
- Firing Pin: Inspect the firing pin tip for any signs of wear, damage, or deformation. A worn or damaged firing pin can cause misfires. Also, check the firing pin for any cracks.
- Extractor: Examine the extractor claw for sharpness and integrity. A worn or broken extractor can cause extraction failures. Also, check the small extractor spring and plunger.
- Bolt Body: Inspect the bolt body for any cracks, dents, or other damage. Pay close attention to the rails and the areas around the firing pin channel.
- Springs: Check all springs for signs of weakening or damage. Weak springs can cause malfunctions.
If you notice any signs of wear or damage during the inspection process, replace the affected components immediately. Using worn or damaged parts can compromise the safety and reliability of your firearm.
Reassembling the Ruger Mark IV 22/45 Bolt: A Detailed Guide
Once you have thoroughly cleaned and inspected all the components, it’s time to reassemble the Ruger Mark IV 22/45 bolt. Follow these steps carefully to ensure proper assembly and function.
- Install the Extractor: Carefully insert the extractor spring and plunger into their respective holes in the bolt. Then, position the extractor over the plunger and press down until the extractor snaps into place. Ensure the extractor moves freely. This step can be tricky due to the small size of the spring and plunger.
- Insert the Firing Pin: Slide the firing pin into the firing pin channel in the bolt. Ensure the firing pin is oriented correctly.
- Install the Firing Pin Retaining Pin: Align the hole in the firing pin with the hole in the bolt. Then, use a punch to push the retaining pin back into place. Make sure the pin is flush with the surface of the bolt.
- Test the Function: After reassembly, manually test the function of the firing pin and extractor. The firing pin should move freely within the bolt, and the extractor should be able to grip the rim of a cartridge.
Lubrication and Final Checks
After reassembling the bolt, proper lubrication is essential for smooth operation and longevity. Apply a light coat of quality gun oil to all moving parts, including the firing pin, extractor, and the bolt body itself. Avoid over-lubrication, as excessive oil can attract dirt and debris.
Final Checks:
- Function Test: Manually cycle the bolt to ensure smooth and proper operation. Check that the firing pin moves freely and the extractor grips the cartridge rim securely.
- Visual Inspection: Double-check all components to ensure they are properly installed and aligned.
Troubleshooting Common Issues During Disassembly and Reassembly
While the disassembly and reassembly process is relatively straightforward, you may encounter some common issues. Here are some troubleshooting tips:
- Difficulty Removing the Retaining Pin: If the retaining pin is difficult to remove, try using a smaller punch or applying a small amount of penetrating oil to loosen any corrosion or debris.
- Losing Small Parts: The extractor spring and plunger are very small and easy to lose. Work in a well-lit area and use a parts tray to keep everything organized. If you do lose a part, replacements are readily available from Ruger or aftermarket suppliers.
- Extractor Not Functioning Properly: Ensure the extractor spring and plunger are properly installed and that the extractor claw is not damaged.
- Firing Pin Not Moving Freely: Check for any obstructions in the firing pin channel and ensure the firing pin is properly lubricated.
Upgrading Your Ruger Mark IV 22/45 Bolt
Beyond basic maintenance, there are several upgrades you can perform on your Ruger Mark IV 22/45 bolt to enhance its performance and reliability. These upgrades typically involve replacing factory components with aftermarket parts designed for improved functionality.
- Firing Pin: Upgraded firing pins, often made from titanium or hardened steel, can improve ignition reliability and reduce the risk of misfires.
- Extractor: Aftermarket extractors with enhanced claw geometry can improve extraction reliability, especially with different types of ammunition.
- Extractor Spring: Heavier-duty extractor springs can provide more consistent extraction force.
When considering upgrades, it’s essential to choose high-quality parts from reputable manufacturers and to follow the installation instructions carefully. Improperly installed upgrades can negatively impact the performance and safety of your firearm.
Maintaining Peak Performance
Mastering the disassembly, cleaning, and reassembly of your Ruger Mark IV 22/45 bolt is a critical step in maintaining its peak performance and extending its lifespan. By following the steps outlined in this guide, you can confidently perform this essential maintenance task and ensure your firearm remains accurate, reliable, and enjoyable to shoot for years to come. Understanding the inner workings and committing to a consistent maintenance schedule is key to responsible firearm ownership.
